I started this build as my entry for the 8×8 Campaign over at armorama.com. It was also meant as a practice object before I start the AFV Club M1130Stryker TACP.
In the first steps I already stumbled upon some misaligned shock absorber coils which were impossible to correct. Not a big deal in the end since this is going to be hidden behind the wheels.

The lower hull falls together pretty nicely once you manage to remove the very fine parts from the sprue and clean them without damaging them. Personally, I had a lot of problems with this part and the components are very fragile. Extreme attention is required here but still managed to break one set of steering arms which were impossible to align afterwards.


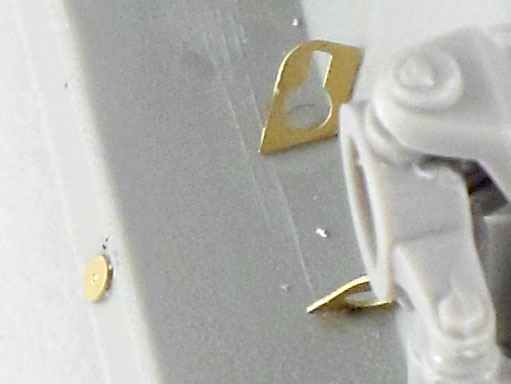
The PE parts that are assembled on the lower hull seemed very difficult to assemble at a first glance as they only present the material thickness as their gluing surface which is less then 1mm. Still, applying a bit more glue and carefully placing the parts in the puddle seem to render surprisingly stable connections. We’ll see how that resists further handling during the build process.

The propeller and specially their guards are again a run of very thin parts that need to be removed, cleaned and aligned very carefully.

After several more building sessions and some broken antennas (one should really leave these off until everything is ready for painting), the body is finally finished. I’ll have to go through the steps and sprues once again to make sure nothing has been forgot but the main part should be glued in place.
Some smaller parts like the tools or the machine gun are left off to be painted separately.


Next up PE priming which also servers as preshading for the following layer of sandy yellow.


Then the sandy yellow layer as the first camo color.


My first time using Uhu Patafix (same as Blue Tac) for masking and I must say I’m impressed how easy it was!


The green color is a 2/3 – 1/3 mix of Revell 39 Dark Green and Revell 45 Light Olive.


Once the yellow and green were on, I followed on with the black and then removed the masking. There is a minimum amount of overspray to correct and some of the smaller parts were ripped off in the unmasking process. Nothing that cannot be repair, tough.


I have been applying a (for me) new technique to emulate the tire sag by inserting a screw in the rubber part and fastening it to the plastic rim below. I have the idea from Fabrizio Pincelli’s BTR-60PB build from the January issue of Military Modelcraft International. I think it turned out OK. The only thing I don’t know yet how to solve is how to glue the rubber to the plastic. I tried both cyanoacrilate glues I’m using for the PE parts but none was sticking.


The rest of the body received a foggy layer of Revell 314 Beige and a IPA-diluted Vallejo pigment wash both applied with the airbrush.


This concludes the building. I hope you’ll enjoy building yours just as much as I did with mine!
Cheers,
Cristian


I like the technique for tyre sag, I certainly wouldn’t have thought of that I’ll have to give a go at some point.
thearmourfarm.wordpress.com
Thank you, Declan! I picked up this technique in a magazine a while ago. The problem is that you’ll have to put the same amount of sag on all tires otherwise it will “limp” plus it may cause some deformation of the rubber part that will then split from the rim (can be well seen in the photos above).
Good luck with your trial! 🙂
Cristian
Thx for the very useful review, wish I had read it b4 starting the build. Lots of great details…..usual top notch Trumpeter quality!
Thanks, John! Glad you found it useful.
Please feel free to post a link to your build if/when available online.